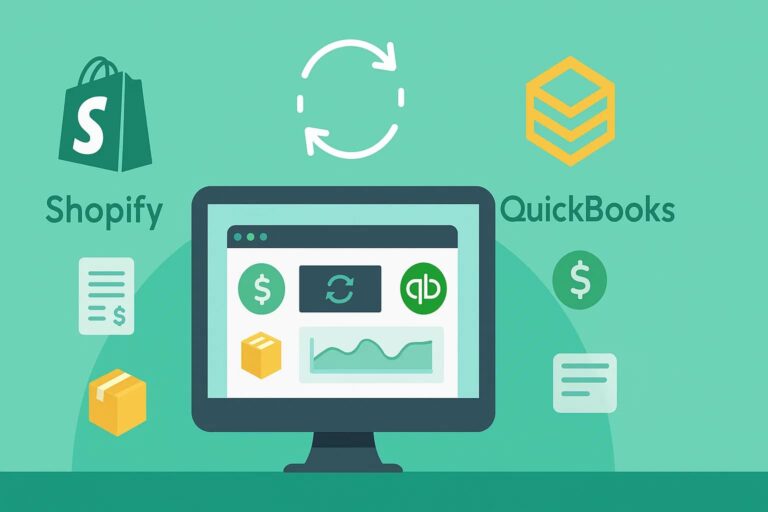
Shopify QuickBooks integration offers various features to effectively manage accounting, keeping your business running smoothly. In this article, let’s discover more about its important roles and how to integrate Shopify with QuickBooks.
What is QuickBooks and Shopify integration?
Shopify QuickBooks integration refers to the seamless connection between Shopify, a leading e-commerce platform, and QuickBooks, one of the most popular accounting software solutions. Integrating Shopify with QuickBooks allows users to automate the flow of financial data from Shopify to QuickBooks, eliminating manual data entry, reducing errors, and saving valuable time.
Benefits of integrating Shopify with QuickBooks
Integrating Shopify with QuickBooks allows every transaction, order, etc. will be updated automatically and timely. So, business owners can save considerable time when they do not have to regularly record payment transactions on many different platforms.
Advantages of Shopify to QuickBooks integration
Limit errors
Manual data entry inadvertently leads to a lot of data errors that not everyone realizes in time. Compared with traditional accounting processes, where financial data must be entered manually and stored in different Excel files, So, if you integrate Shopify with QuickBooks, you can minimize these errors.
Increase work efficiency
Integrating Shopify with QuickBooks will let businesses automatically send and transfer data to a single data center. It is important to understand the overall financial picture of the company, such as costs and profits.
Featured Functionality of Shopify QuickBooks integration
Export your Shopify Orders as Sales Receipts
The data of all your orders (customer and product information) and refunds from Shopify will be transferred to the QuickBooks system. In addition, you can export your preferred remote historical data from Shopify to QuickBooks. With one click, you can enable automatic order export.
Automatically export Shopify Payments fees and payments
After downloading the app, you can enable the payment settings to transfer all your Shopify Payments payments and fees to QuickBooks Online. This helps you control revenue and expenditure on one platform.
Export profit and loss statements from Quickbooks
If you integrate QuickBooks with Shopify, you can quickly export profit and loss statements from your QuickBooks Online account. To export your profit/loss report to your QuickBooks Online account, click the Reports tab and then click the Profit and Loss link in the Business Overview report. This will open the profit and loss statement.
Export the goods category and taxes automatically
Each successful order on Shopify will be automatically transferred to QuickBooks’ system (including tax, item type, and shipping fee). You can see a breakdown of your products and how much you have earned from them.
Export tax rates to multiple tax authorities
QuickBooks will automatically export taxes and tax authorities from your successful orders. You can monitor the reporting tables to see your tax situation.
How to integrate Shopify with QuickBooks?
Integrating Shopify with QuickBooks requires the implementer to know about Shopify, QuickBooks, and related integration methods. If you have coding skills, you can use APIs (web APIs, SOAP APIs, and REST APIs) to access and connect data. On the other hand, if you are not an expert, seek to work with a third-party integration platform, such as HexaSync, to configure mapping and integrate Shopify with QuickBooks.
Besides, some old QuickBooks desktop versions have been closed annually, so you need to migrate QuickBooks Desktop to QuickBooks Online as soon as possible to keep all the good features for your operation.
How to import product data from QuickBooks to Shopify by using the HexaSync integration platform?
Step 1: Create a new item on QuickBooks.
- From the QuickBooks dashboard, choose Sales → Products and Services → New.
- Choose Inventory → Fill in all the information → Save and Close
- After completing it, you successfully create a new item named “Beehexa QuickBooks – Shopify T-Shirt 2021” on QuickBooks.
Step 2: Check the item on Shopify.
- From the Shopify backend, choose Product → All Product → Enter a product name.
As you can see, the product “Beehexa QuickBooks – Shopify T-Shirt 2021” has been successfully integrated from QuickBooks to Shopify in real-time with all information. The product data has been automatically pulled and pushed between Shopify and QuickBooks through the HexaSync account.
How to create a Shopify QuickBookss Integration profile on HexaSync?
Step 1: Register a HexaSync Integration account.
- Visiting link: https://app-az.hexasync.com/login.
- Sign up for an account by entering your email address → Login. (Or you can also sign up with Microsoft or Google).
- Fill in the information, including your name and company name.
- The OTP code will be sent via email. Copy that OTP code → Submit.
So, you have successfully registered an account on HexaSync.
Step 2: Creating a HexaSync Profile.
- To create a new profile, click the (+) button.
- Choose the Source System and Destination System according to your requirements.
- Click Next, and you have successfully created a HexaSync Profile.
Note: If you need multiple HexaSync profiles, repeat the same steps.
Step 3: Share the profile with the HexaSync team.
- Select the HexaSync Profile you want to share.
- Invite HexaSync’s team via email at team@beehexa.com to manage your integration, following the instructions in the image below.
Final Words
Integrating Shopify with QuickBooks makes it possible for business owners, entrepreneurs, and sellers to check their e-commerce store’s order information, product quantity, sale revenues, expenses, tax, and receipts. If you need an integrated solution, Hexasync is a recommended middleware that connects Shopify to QuickBooks and handles all the difficulties during data transformation.
